I have a thing for being organised. I like it, though for the last little while it hasn’t liked me so much :o)
I love looking around my home and seeing everything in its place, knowing exactly where something is when I need it, seeing harmony and order instead of chaos and clutter. Apparently the state of your home is the state of your mind and I would much rather have a peaceful house and therefore a peaceful headspace (or vice versa) than have a chaotic thought-process to match my equally untidy living space!
Anyway something I used extensively pre-baby and have begun implementing again is labelling, a very cool way to make sure everyone else in the household knows where everything goes after you put in the hard work to get it all sorted and neat-looking as well as a way to add abit of ‘décor’.
Label your kids toys, label your glass jars, label your baskets, label your bookshelves, label your nappies… It’s addictive, really!! Think funky fonts, stylish backgrounds, colour co-ordination, custom tags :deep sigh: love it <3 Label your laundry baskets, your food containers, label the kids art stuff, label the kids drawers, oh my lol so many options...
Seriously labelling should carry a warning : causes obsessive behaviour! Though the fact that it gets the males in my home to put things back where they belong, gets them helping with the
(copious amounts of) laundry and means I don't have to do a mad nut when someone arrives unexpectedly - well it definitely increases the chances of the house being in an acceptable state of order lol I still have to do the mad nut chucking things in cupboards and under the beds before opening the door to said unexpected arrival attempting to look cool, calm and collected even though they probably saw me running round like a loon through the window ;)
Ok we’ve established labels are awesome, now how to get them??!! That kinda depends on the look you’re going for of course but here are a couple of ideas to get you going…
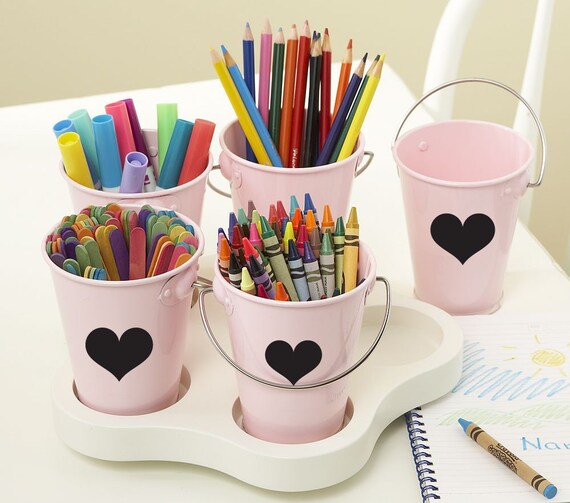
Custom coloured blackboard tags : uber-cool, reusable (just clean them off and write a new label), and with the DIY blackboard paint that I’ll be posting up shortly you can customise the paint colour to your room – that’s right, colour is the new black!!
Either:
1. Choose the container you want to label,
2. Mark out the shape you want to paint with tape,
3. Fill it in with blackboard paint,
4. Allow to dry,
5. Peel off tape,
6. WRITE YOUR LABEL
or
1. Sand scrap bits of plywood,
2. Drill a hole in one end,
4. Paint with blackboard paint,
3. Add ribbon,
4. Tie to object you wish to label,
5. WRITE YOUR LABEL
Laminate Labels
1. Measure the container you have to make sure you get the size right,
2. Find the image you want on google images,
3. Copy to which ever program you use (I generally use Microsoft Word coz its easy and I'm lazy ;)) and add fonts and colours,
4. Print, laminate and trim
5. Attach to container using glue, velcro (one part attached to container, opposite part attached to label), or punch a hole in label and attach using raffia, embroidery thread, string, or whatever you have at your fingertips.
Toy Labels are absolutely brilliant and there are sooooo many ideas out there so I thought I'd include a few linkies to free printables to get you started if you just want a quick print, laminate and attach option :) Enjoy...
Toy Label Printable Linkies:
I have more ideas rolling around in my head but its difficult to get them to come together on paper :) If it happens I'll update this!